Journal
Paintstik Overlay Update
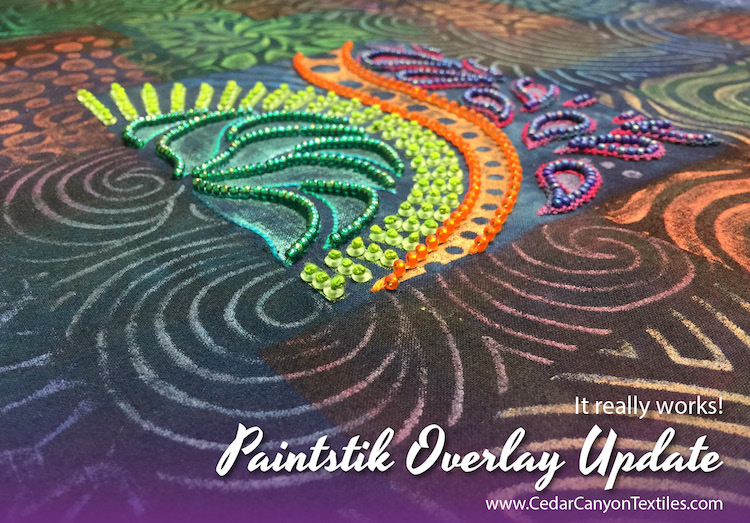

You may remember that I’ve been working on a way to rescue a project with a Very Busy Background. I experimented with a computer-simulated overlay, then took the plunge and applied a Paintstik overlay to one section of the piece. Today, I’m happy to report that the Sheer Paintstik Overlay really works!
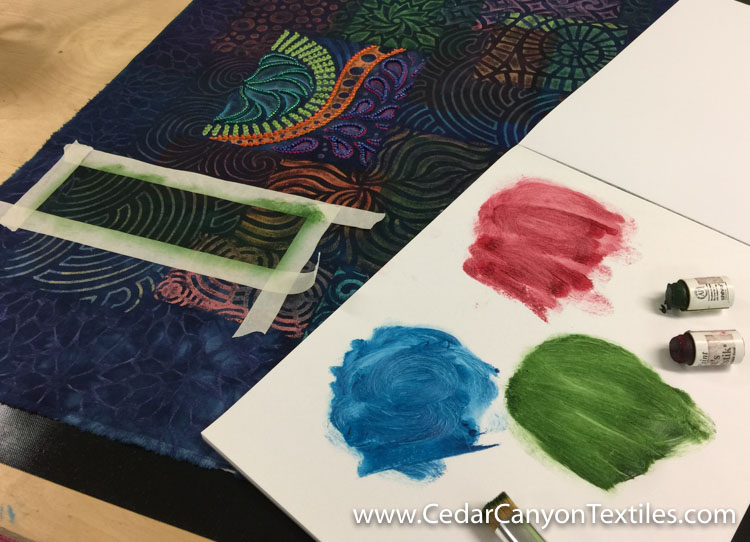
Matte Paintstik colors on palette paper
In case you missed the earlier posts, here’s how it works. I chose a number of dark matte color Paintstiks and masked off various sections of the fabric with plain old masking tape. (It doesn’t stick well over fresh paint, but it was enough to help me out.)
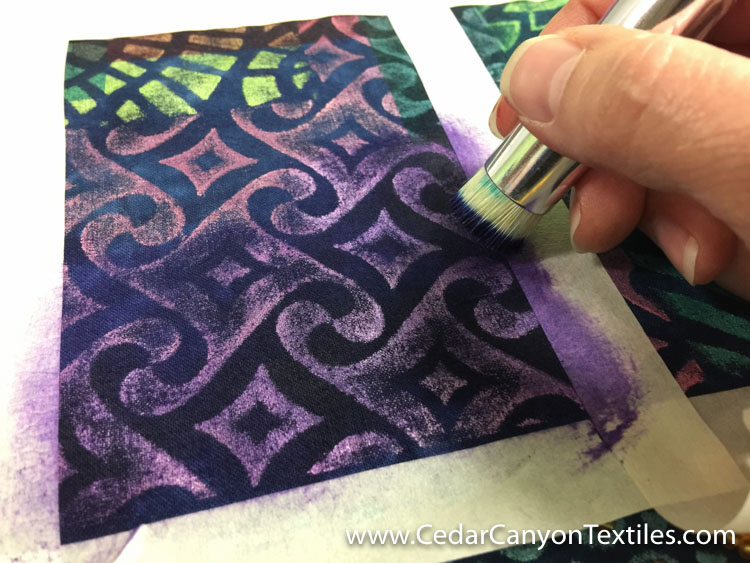
Applying Paintstik colors with a stencil brush
I applied a sheer layer of the matte color over the section of fabric inside the tape.
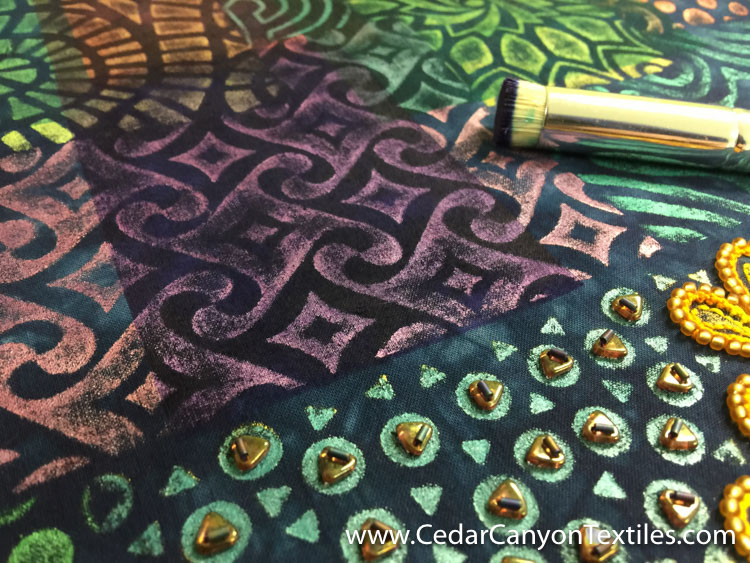
Painted section of fabric is noticeably duller
As you can see, the masked off section of fabric is considerable duller after the Paintstik color has been applied.
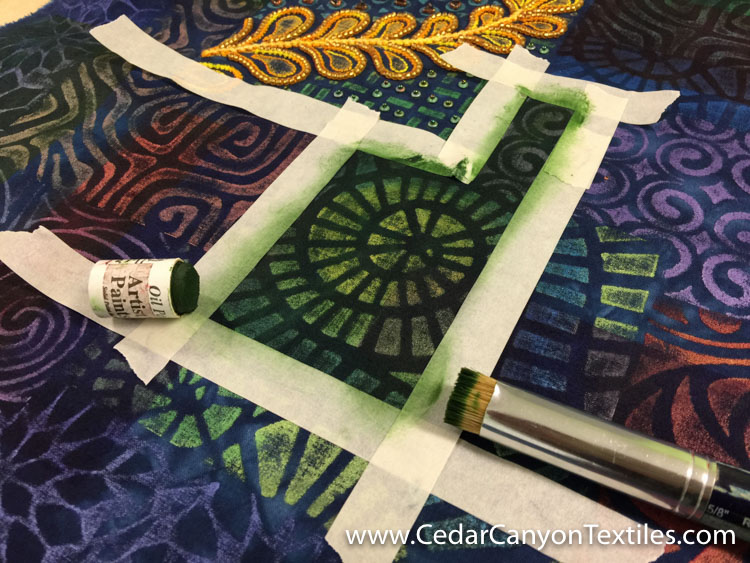
Continuing the process with another color
My goal was to paint overlapping rectangles of color around the beaded sections on the fabric. That called for some odd-shaped sections, but the process worked just fine.
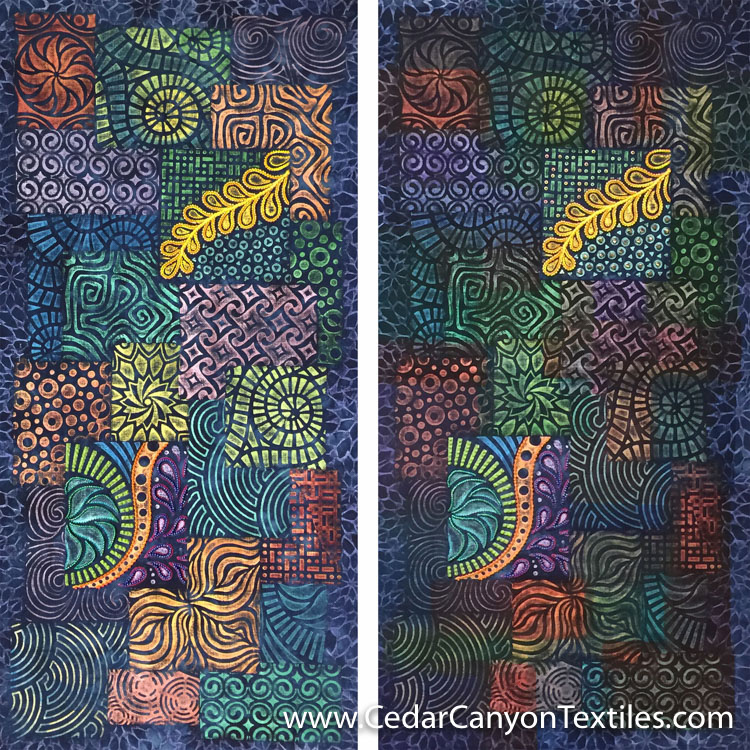
Before and after adding sheer Paintstik overlay with matte colors
As much as I love my iridescent Paintstiks, there are times when all that “shiny stuff” gets to be too much. I’m tickled that I can hop over to my box of matte colors to save the day.
There is still a lot going on in the background, but the sheer Paintstik overlay was exactly what I needed to tone it down. Yippee! I’m one step closer to rescuing this piece – and turning it into something I love.
Learn More
Curious? Here are several past articles related to the Sheer Paintstik Overlay concept:
Shape Shifter Rubbings 4: The Final Layer
Testing a Flower Collage Overlay
Add a Layer with a Sheer Paintstik Overlay
Your Turn
So, what do you think? Do you think the Paintstik overlay worked on this piece? Would you do something different? Leave a note below. I love to hear what you’re thinking about.

IT is beautiful and I cannot wait to try it.
RoseMary from MASS.
I love the one with the overlay of the matte colors! It made it higher contrast with the two beaded sections, which now “pop”. It also gave it an interesting depth and richness in the matte areas that I liked.
Another amazing project! I am always in awe of your talent!!! So glad you share and inspire us all.
Thanks, Michelle. This has been an interesting project, to say the least!
This isn’t paint stick but I think it also would have worked to applique with a solid color of fabric around the two beaded sections in a “framed” look.
The fabric “frame” is coming up, Bonnie. I’m definitely planning for a bit of separation between the beaded sections and the background. You read my mind!
Beautiful work, Shelly! You have done so much. It looks so addicting. I am in love with your first posted work. Those are playful!
Thank you and so glad you are moving through the summer gracefully! Can’t wait to hear more.
Sincerely,
Judi from Williamsburg, Virginia!
Thanks, Judi. I appreciate your warm wishes. 🙂
I am quite the magpie so I love the iridescent paintstiks. But I do love how the beaded sections now pop.
Welcome to the Magpie Community, Mags! You’ve got lots of company here… 😉
While I love the brightness of the iridescent piece, the overlay definitely gives the overall piece more depth and richness, and since the beading is so intricate, your eyes are immediately drawn to those areas of contrast. They both are beautiful, but the overlay step has definitely brought focus to your desired area, absolutely stunning!
Thanks, Joan. As much as I love my “shiny stuff,” there are times when we just have to tone it down. It’s hard to have a focal point with all that shine going on!