
Journal
Paintstik Overlay Experiment 1

About a month ago, I “tested” a sheer Paintstik overlay on the computer screen to see if it would Tame a Busy Background. This week, I decided to see if a “real” Paintstik overlay worked on real fabric.
[Tweet “Painted overlay vs. sheer fabric overlay: Does it really work?”]

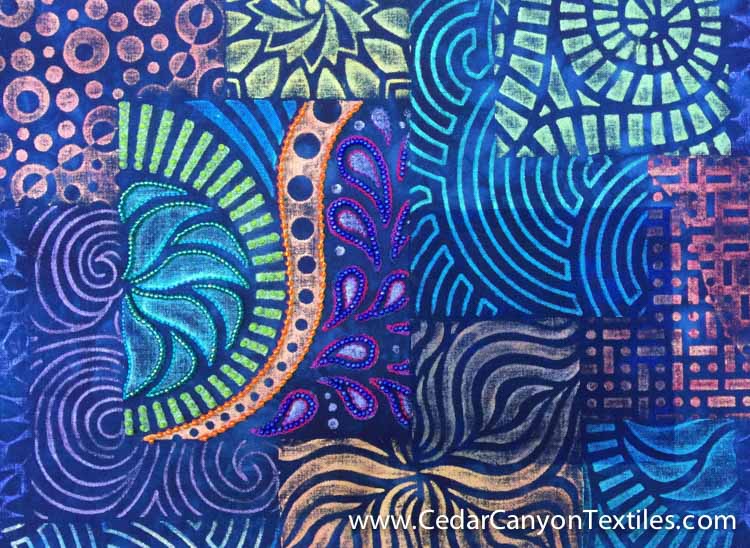
Original painted/stitched/beaded fabric
Because I used a bunch of Iridescent Paintstiks color to paint the Whole Cloth Collage, the piece had no logical focal point and background. Several of my friends suggested using a sheer overlay to tone down the fabric around the beaded section.
It was one of those “thwack on the side of the head moments.” Using Sheer Paintstiks Overlays happens to be one of the lessons in the Whole Cloth Collage course. I just needed a reminder to use it on my own work!

Section of fabric marked off with masking tape
Rather than using a single color for the overlay, I decided to add rectangles of different matte Paintstiks colors. Masking tape was the quickest way to mark off each of the sections.

Section painted with matte Ultramarine Blue Paintstik color
I painted the first section with Ultramarine Blue from the matte color line. The fine pigment particles in the matte colors are perfect for dulling down the “shiny” quality of the Iridescent colors.
Fabric with masking tape removed
It turned out that a blue overlay was not the best choice on blue fabric, so I rummaged through my paint boxes to find a dark red, green and purple.

Three sections of overlay painted (top and right of beaded section)
With three sections painted (blue, red and green), it was clear that the Paintstik overlays were working as planned. Onward!

Overlay added around beaded section
With a series of overlays painted all the way around the beaded section, I felt the experiment was a success. The matte colors were doing an admirable job of knocking down the brightness of the painted sections around the beaded section that was supposed to be the focal point.
I’ll add another layer of Paintstik overlays before I call this complete, but I’m satisfied (and thrilled) that the result on “real fabric” matches up pretty closely with my computer screen experiment.
[Tweet “Matte Paintstik colors tame a busy background – it really works!”]
Your Turn
Do you have a favorite method for toning down sections of your work that are too bright? Have you ever tried using a painted overlay? Leave a comment below. I would love to hear your stories.
Hi,
Interesting idea. Could you put some arrows on the pictures so I can pick out exactly what you want us to see? It’s hard to distinquish the various parts. Thanks.
Gretchen
Hi,
Back again……maybe I just need more instructions of how you did this. Did you actually put the rubbing plates under the sections you wanted to tone down?
Thanks,
Gretchen
Hi Gretchen,
I guess I did not take enough photos! When I painted the original fabric, I put rubbing plates under the fabric and painted the original patterns as Paintstik Rubbings. When I was painting the overlays, the fabric was flat on the table, and I used a stencil brush to apply a sheer layer of the matte Paintstik color over the top of the rubbings. The matte colors are great for “dulling down” the light-reflecting quality of the iridescent colors.
Beautiful! Please share the before and after of the finished project. I love the stitching and beading, I have to remind myself to step back when doing this because I’m worried about adding too much when I’m only looking up close. Sometimes more is better!
Congrats on your new home!
I’ll do a final wrap-up post when these are done, Deb. This piece started off as a class sample to show a painting technique and has turned into an interesting series of experiments. 🙂
Shelly,
Your paintstick overlay experiment is wonderful, and now I am anxious to try some of my paint sticks on some fabric and rubbing over some of of the panels to give the great designs.
Thanks Jeanne. Have fun with your own experiments!