Journal
BYO Batik: A Renegade Stencil Experiment
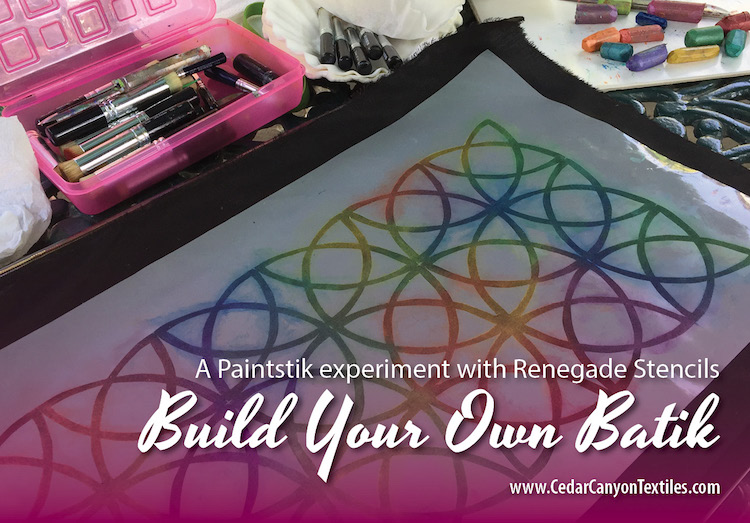
With time set aside for experiments with Renegade Stencils during my retreat, I decided it was time for some BYOB. In case you’re feeling like you’ve encountered yet another strange word in the “Shelly Dictionary,” BYOB stands for Build Your Own Batik. We’ll save the bottled spirits for another time!
[Tweet “Build your own Batik fabric with Renegade Stencils and Paintstiks.”]
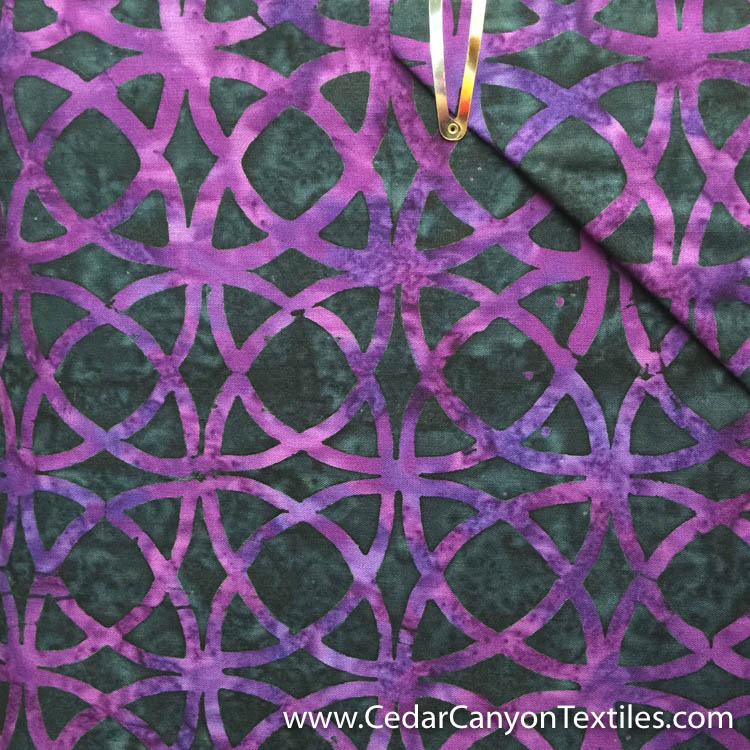
To begin my BYO Batik experiment, I pulled this photo from my Inspir-Action file. I’ve always been fascinated by Celtic knots and all sorts of interlocking patterns, and I wanted to see if I could unravel this design.
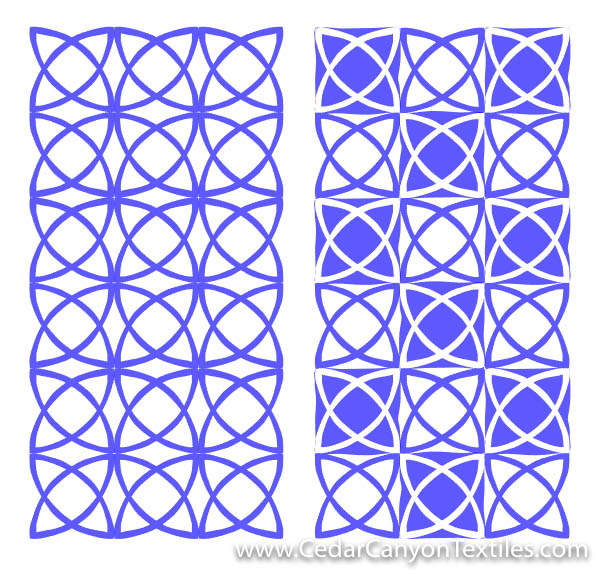
It took me a few minutes of looking to find the basic repeat in the design, but once I did, I was able to create the pattern in Silhouette Studio. I created one version with all positive shapes, and a second with a positive/negative Design Magic layout.
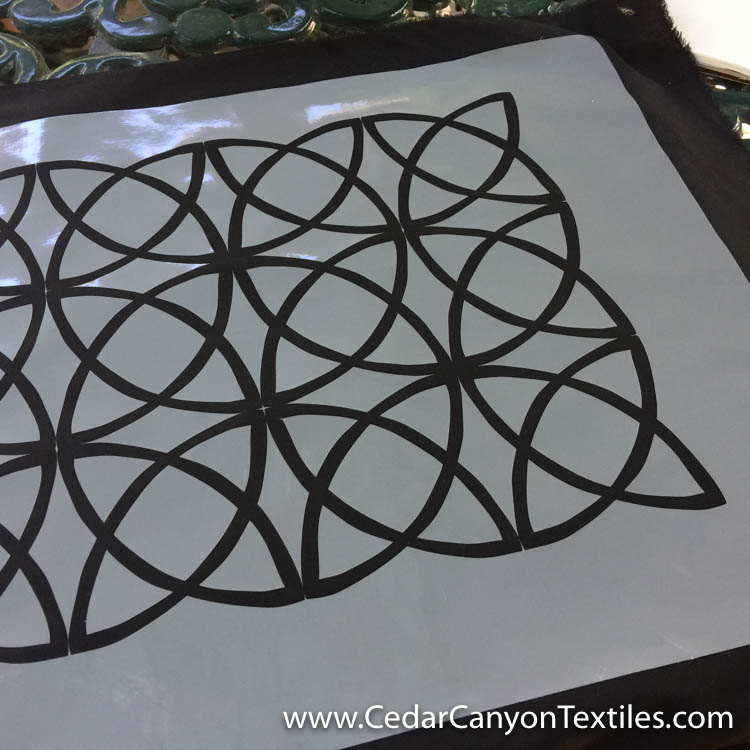
This is a design that simply can’t be cut from traditional stencil material. Instead, I cut a Renegade (vinyl) Stencil with my Silhouette Cameo. I love that I can hit the GO button and go do something else while the machine does the work!
Once the stencil was cut, I transferred the stencil to a piece of cotton poplin with Transfer Tape.
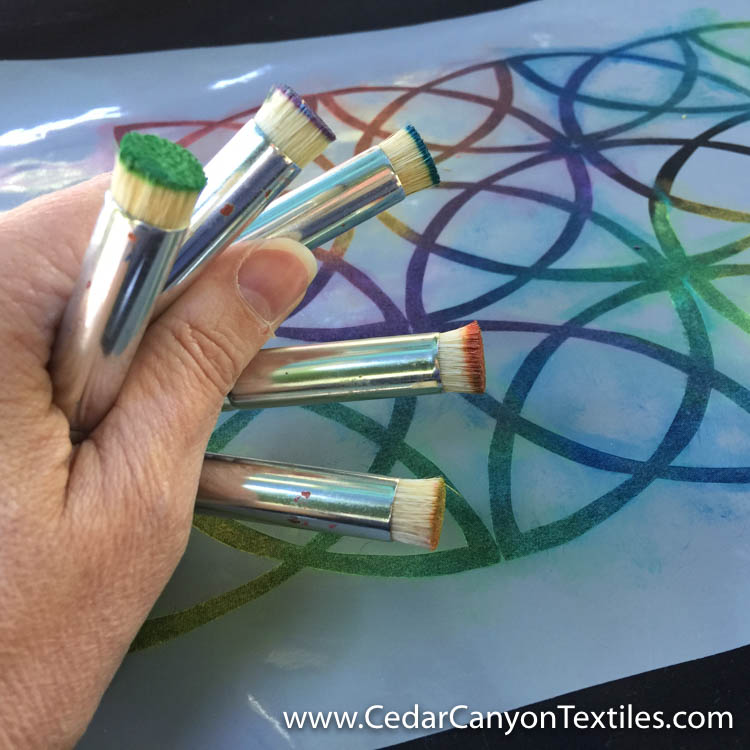
In class, someone usually asks how many brushes I use when I paint. For a piece like this, I used one for each color family – with the exception of one brush reserved for Light Gold Paintstik color.
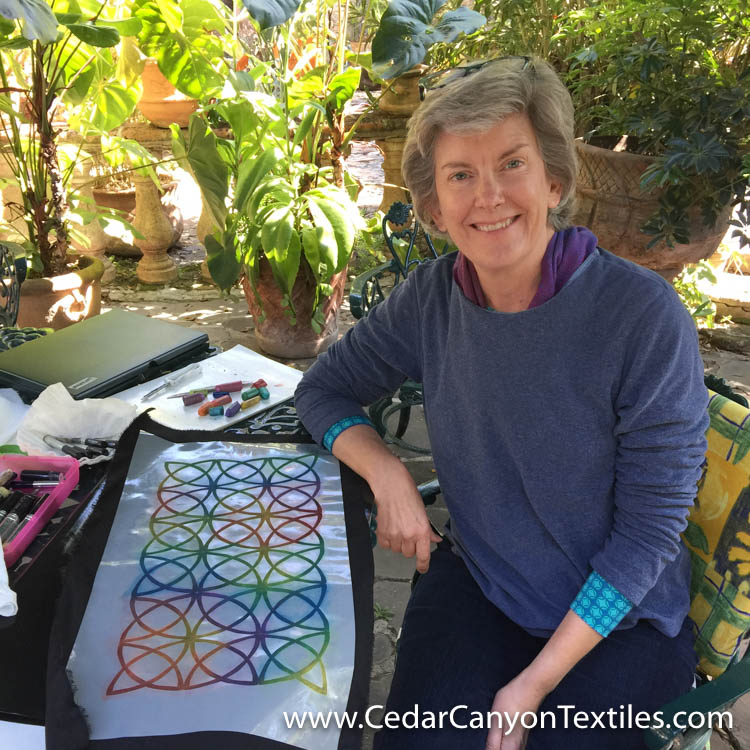
My friend Sue (staying in the adjoining suite) snapped a quick photo for me. As you can see, we have a beautiful patio at the QQ for our stitching and painting. I know I’ll be heading back to Minnesota in just a few days, so I’m soaking up as much sun as I can while I’m here in Chapala!
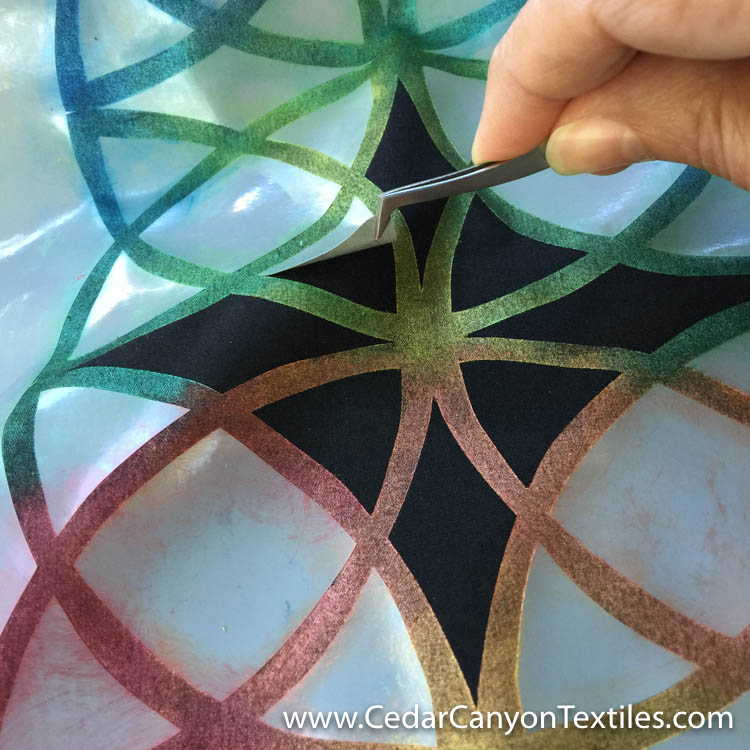
Once the painting was complete, I used a pair of precision tweezers to lift Renegade Stencil pieces from the black fabric. If I’m patient enough to allow the paint to dry overnight, I just peel the vinyl bit with my fingernails. When I’m not patient (which is most every day!) the tweezers are a better choice.
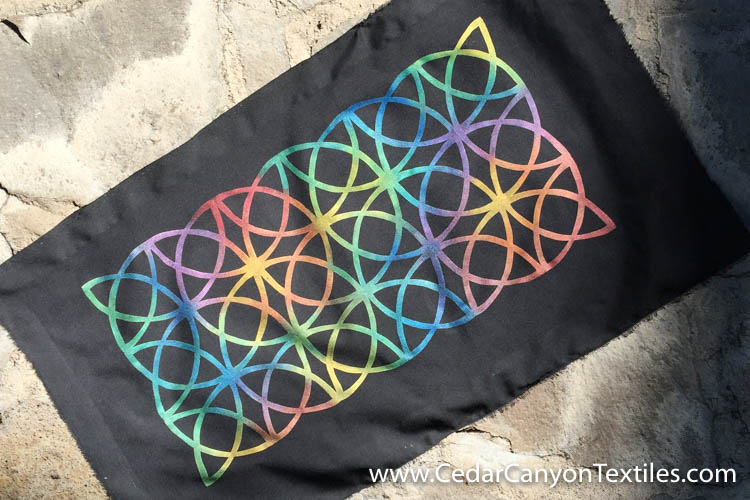
And there you have it – a BYO Batik!
When I started this piece, it was “just an experiment.” But you know what? I really like it! This design will make an amazing canvas for a Paint + Stitch adventure. Gorgeous threads, beautiful beads… oh, the possibilities are endless!
[Tweet “Looking for a good fabric painting experiment? Build your own batik!”]
Your Turn
Have you experimented with making your own version of a commercial fabric? What method did you use? Leave a comment below and let me know how it turned out!


I have not made any fabric with your BYOB technique, however I think I’ll try. I’ve seen Batik fabric with gold metallic printed over the Batik fabric. I’ve only seen a few of this type of Batik, but now I can make my own! Thanks for the idea. Happy Thanksgiving. We have snow here in central MN.
Have fun with this idea, Marlyn. I love your idea of adding metallic paint over an existing batik — or creating a new one!
Hey! Your in Mexico!! BYOB and empty it. Never know what spirit it might put into your batik methodology. I love this design. It was one of the first designs I used when I learned to hand quilt.
There have been plenty of “spirits” here in Mexico. Some of the local restaurants serve free Margaritas with the meals. You just have to be careful not to over indulge. 🙂
I can’t edit my POST!! That should be you’re in Mexico.
Sometimes I type too fast.