
Journal
6 Steps for No Trace Freezer Paper Stencils

After getting a question from one of my students, I wanted to test cut a stencil to make sure it wasn’t too fussy for freezer paper. I was feeling too lazy to trace the design onto the freezer paper, so I cheated. And by doing so, I discovered a wonderful shortcut for making what I’ll call No Trace Freezer Paper Stencils. Woohoo! I love shortcuts!
Flip the Image for Printing (if you care)
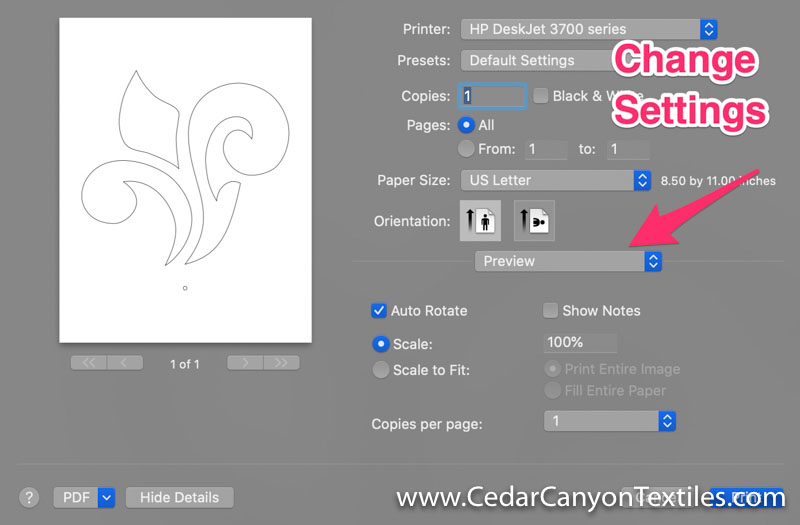
Before you start, there is one small detail you need to think about. If the stencil is directional (as in not symmetrical) and you want the stencil to look exactly like the picture, you need to flip the image horizontally. This can usually be done somewhere in the dialog box that pops up when you print a file.
I have an HP printer hooked to my Apple Mac computer. I found the setting by using the pull-down menu in the middle of the box. It’s normally showing Preview.
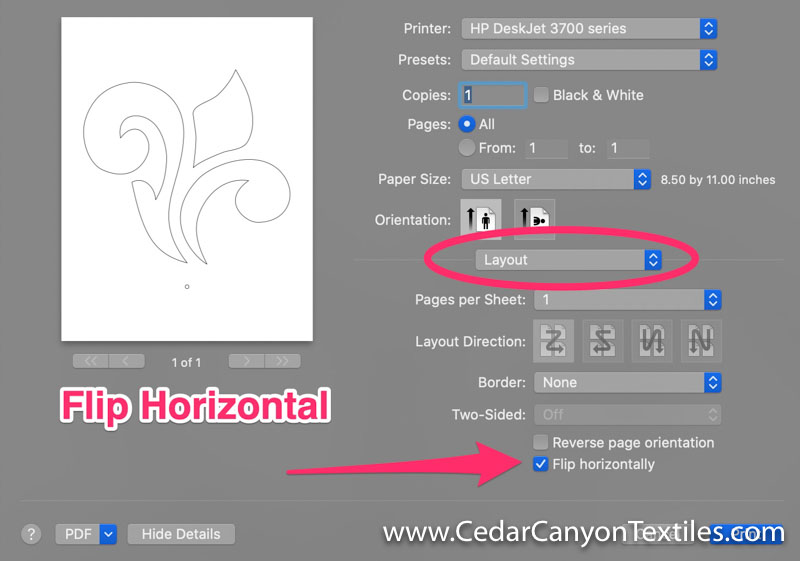
I knew I was looking for the ability to Flip Horizontally or to make a Mirror Image. I just didn’t know where to find the button, so I clicked through the menus until I got to Layout.
At the bottom of the Layout screen, I found the Flip Horizontally button. Now I know where the setting is located. Onward!
Prepare for Cutting

To make a no trace freezer paper stencil, you need
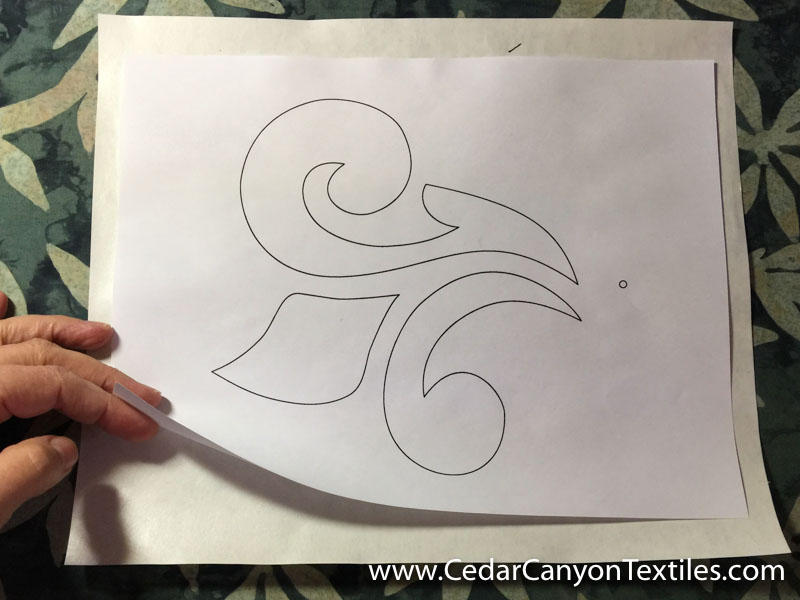
- A printout of the stencil design (flipped if necessary)
- A piece of freezer paper
- A piece of parchment paper larger than the freezer paper (plain paper will work here as well)
- A craft knife (X-acto knife) and a cutting mat
- An iron and a pressing surface
No Trace Freezer Paper Stencils in 6 Easy Steps
Now that you have a print out of your stencil design, you’re ready to go!
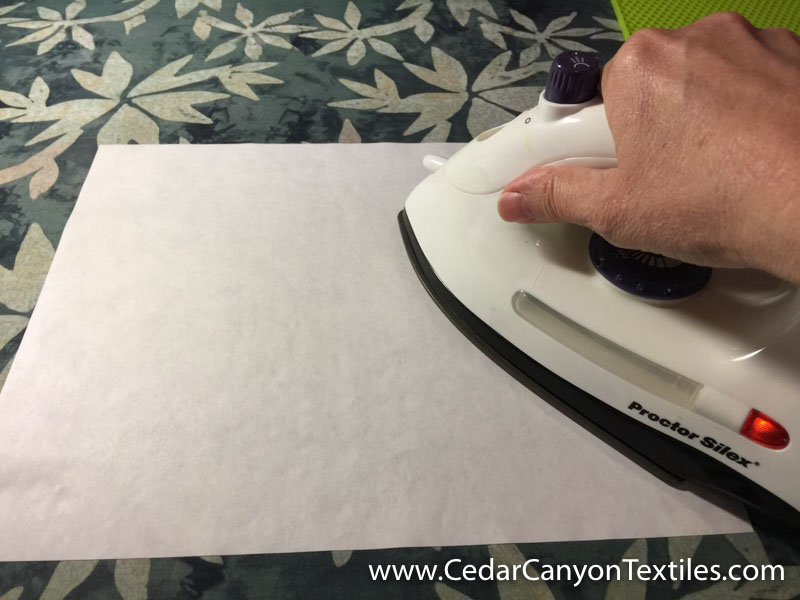
Step 1: Pre-shrink the freezer paper
I know it sounds a little crazy, but freezer paper shrinks. To prevent problems, place your freezer paper shiny-side down on your ironing surface or a piece of lint-free fabric. Press the paper firmly with a medium-hot iron. (The linen setting may be too high, and the polyester setting may be too low.)
Step 2: Turn freezer paper shiny-side up
Lift the freezer paper off your ironing board and place it back on the ironing board shiny-side up.
Step 3: Add stencil drawing
Place the image of the stencil that you want to cut on the freezer paper, printed-side up.
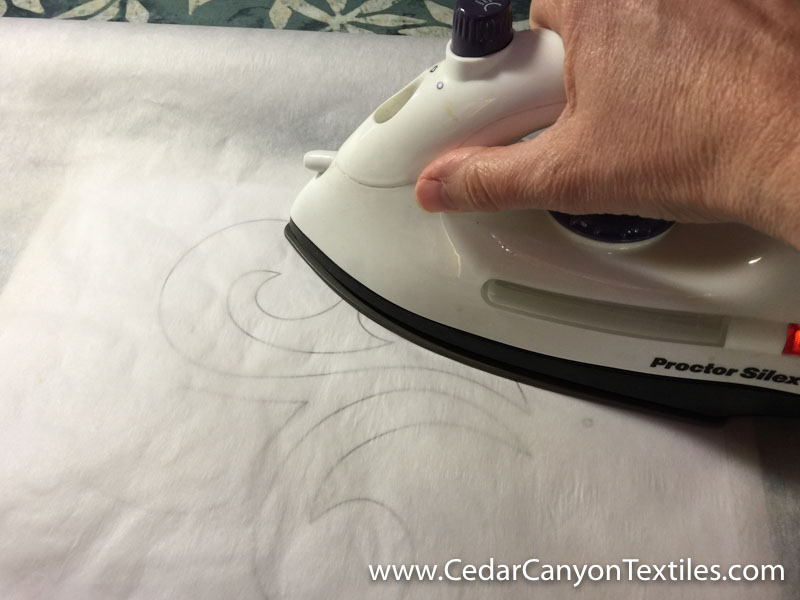
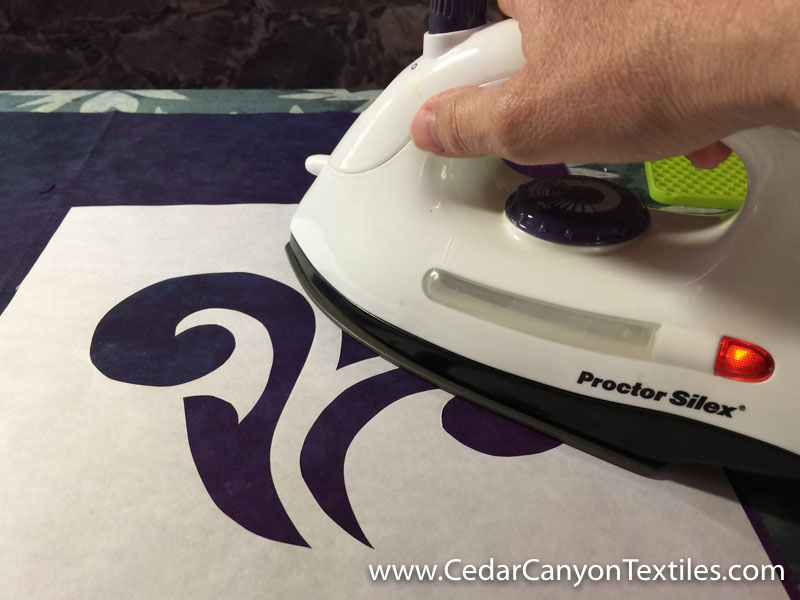
Step 4: Press stencil image onto the freezer paper
If your freezer paper is larger than your stencil drawing, cover your freezer paper and stencil print out with a piece of parchment paper. This will keep your iron from touching the shiny side of the freezer paper. (Plain paper will work if you don’t have parchment paper.)
Press the paper sandwich until the stencil print out is firmly attached to the freezer paper.
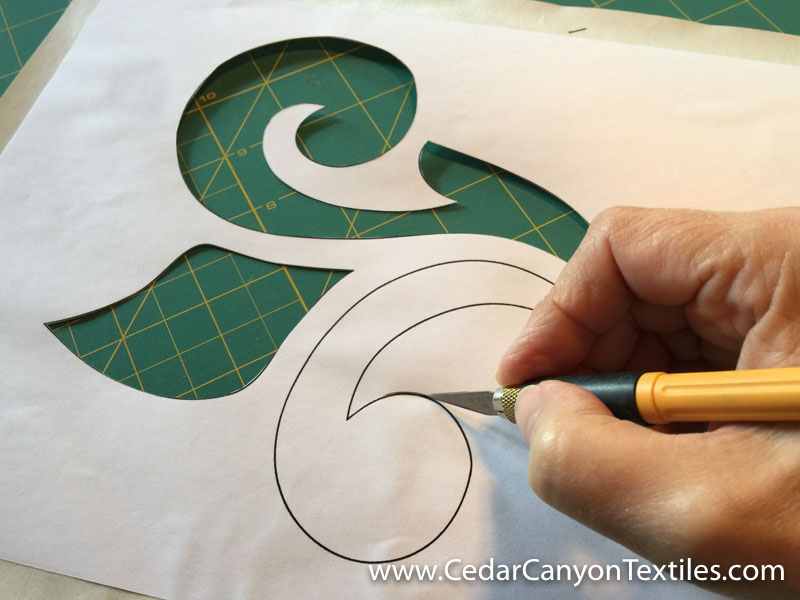
Step 5: Cut Stencil
Next, move the papers over to your cutting mat. Cut the design with a craft knife. With the two layers of paper stuck together, it’s actually easier to cut the stencil without tearing the freezer paper.
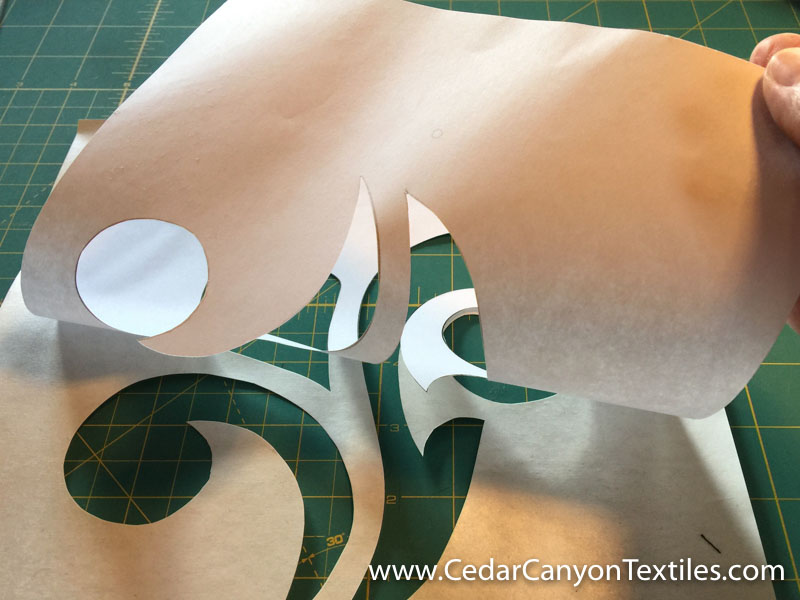
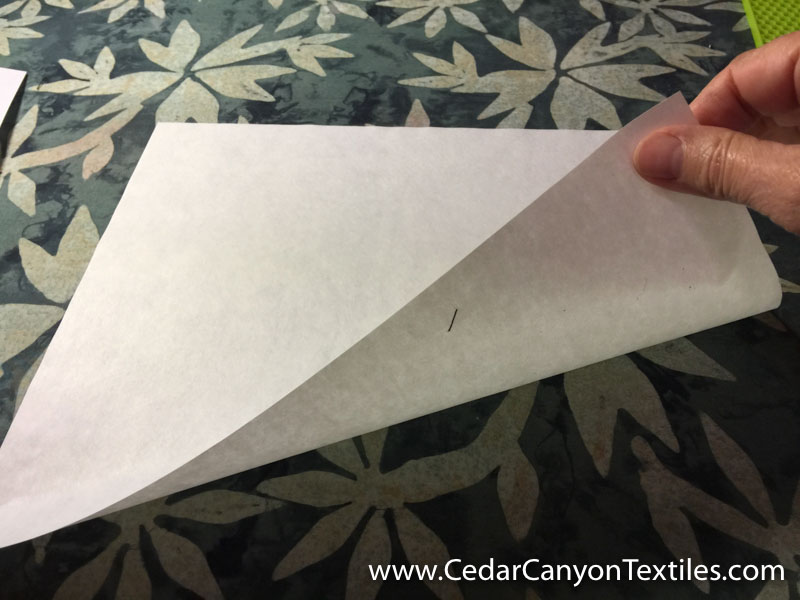
Step 6: Peel the layers apart
When you have finished cutting, gently peel the two layers of paper apart. You now have a no trace freezer paper stencil!
With stencil in hand, you’re ready to paint. Press your freezer paper stencil onto a piece of fabric, and have fun!
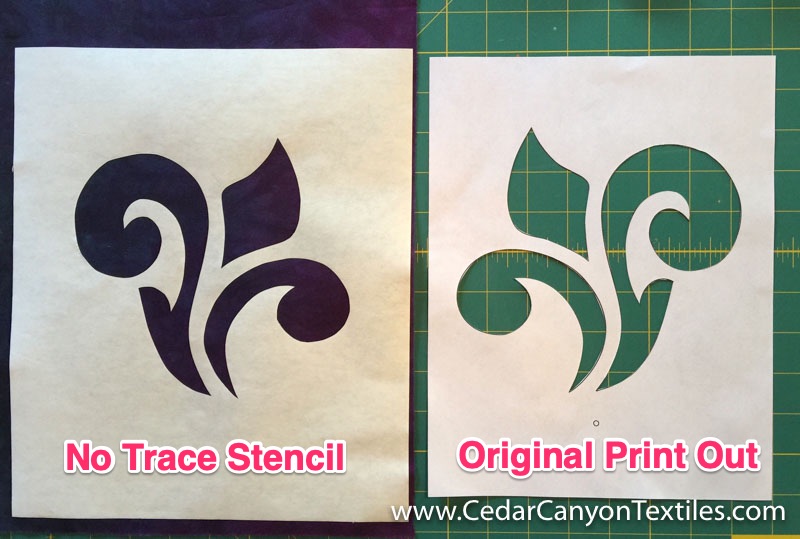
One more time, remember that your no trace stencil will face the opposite direction from the print out you use to make the stencil. Maybe it matters, maybe it doesn’t. Just keep that in mind and take care of the directional stuff when you print the image.
Thanks for reading
Thanks for reading. Your attention is the greatest gift you can give to a writer. I appreciate the invitation to be a small part of your creative world and hope you enjoy this little studio shortcut.
If you’d like to join the conversation, leave a comment below.